This piece was contributed by our DIY contributor Maria Provenzano and originally appeared on her site, From Scratch with Maria.
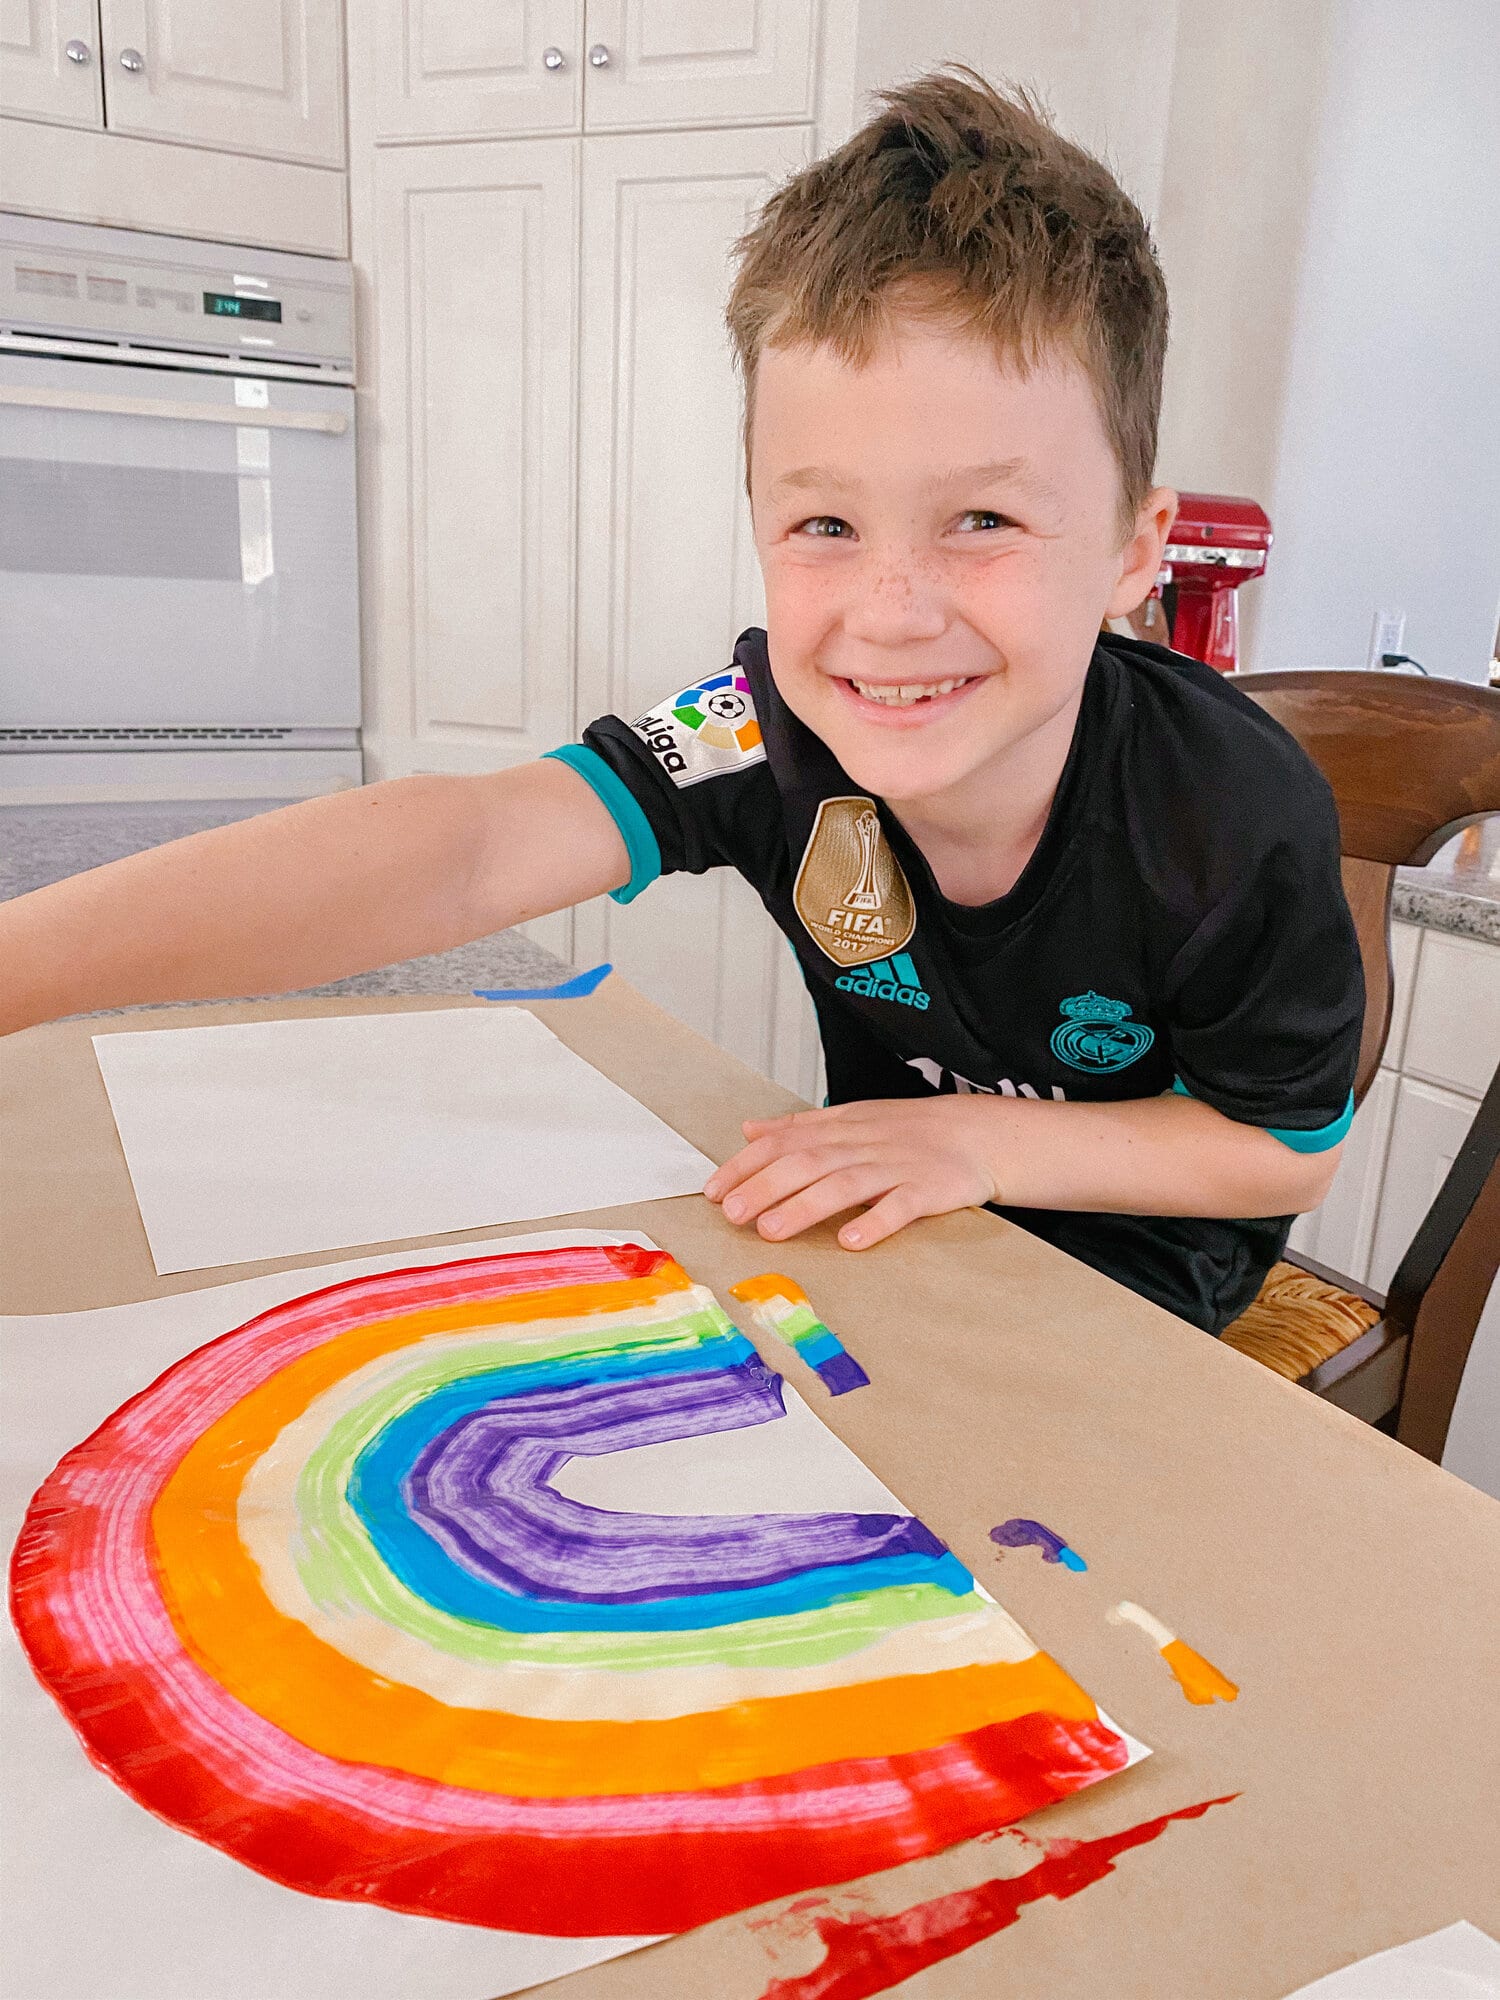
DIY RAINBOW ART
Materials:
White paper, preferably card stock but any white paper will work.
Paint, preferably in the colors of the rainbow
Small piece of cardboard or an additional piece of paper that is folded in half twice to create a thick edge
Directions
Lay a white piece of paper onto a covered surface horizontal.
Start on the bottom left side of the white piece of paper and apply dots of paint starting on the outside and moving your way in with the rainbow colors (red, orange, yellow, green, blue) The red dot should be the largest dot (about the size of a quarter) and slightly make the dots smaller as you get to the purple.
With the cardboard or folded piece of paper and start at the bottom of the page, below the paint, swipe the paint by pressing the edge of the cardboard or paper just under the paint and around so that it will carry the paint to the other side of the paper. Swipe the paint up and then back down in a large upside down “u” shape to create a rainbow shape.
For more from Maria, check these DIY ideas out:

A Mom’s Secret Sleep Weapon: Eight Sleep
This smart mattress is helping moms get the one thing we all need – more sleep.

Youth Sports: Expert Advice on When to Start Travel, Dealing with Disappointment and More
Kirsten Jones, author of Raising Athletes, share on all things youth sports, from starting travel to handling disappointment.

A Former Beauty Editor Shares Her Picks for Spring Skincare, Makeup and More
The Vogue contributor shares details of her new online boutique and skincare, makeup and style secrets for spring.