This piece was contributed by our DIY contributor Maria Provenzano and originally appeared on her site, From Scratch with Maria.
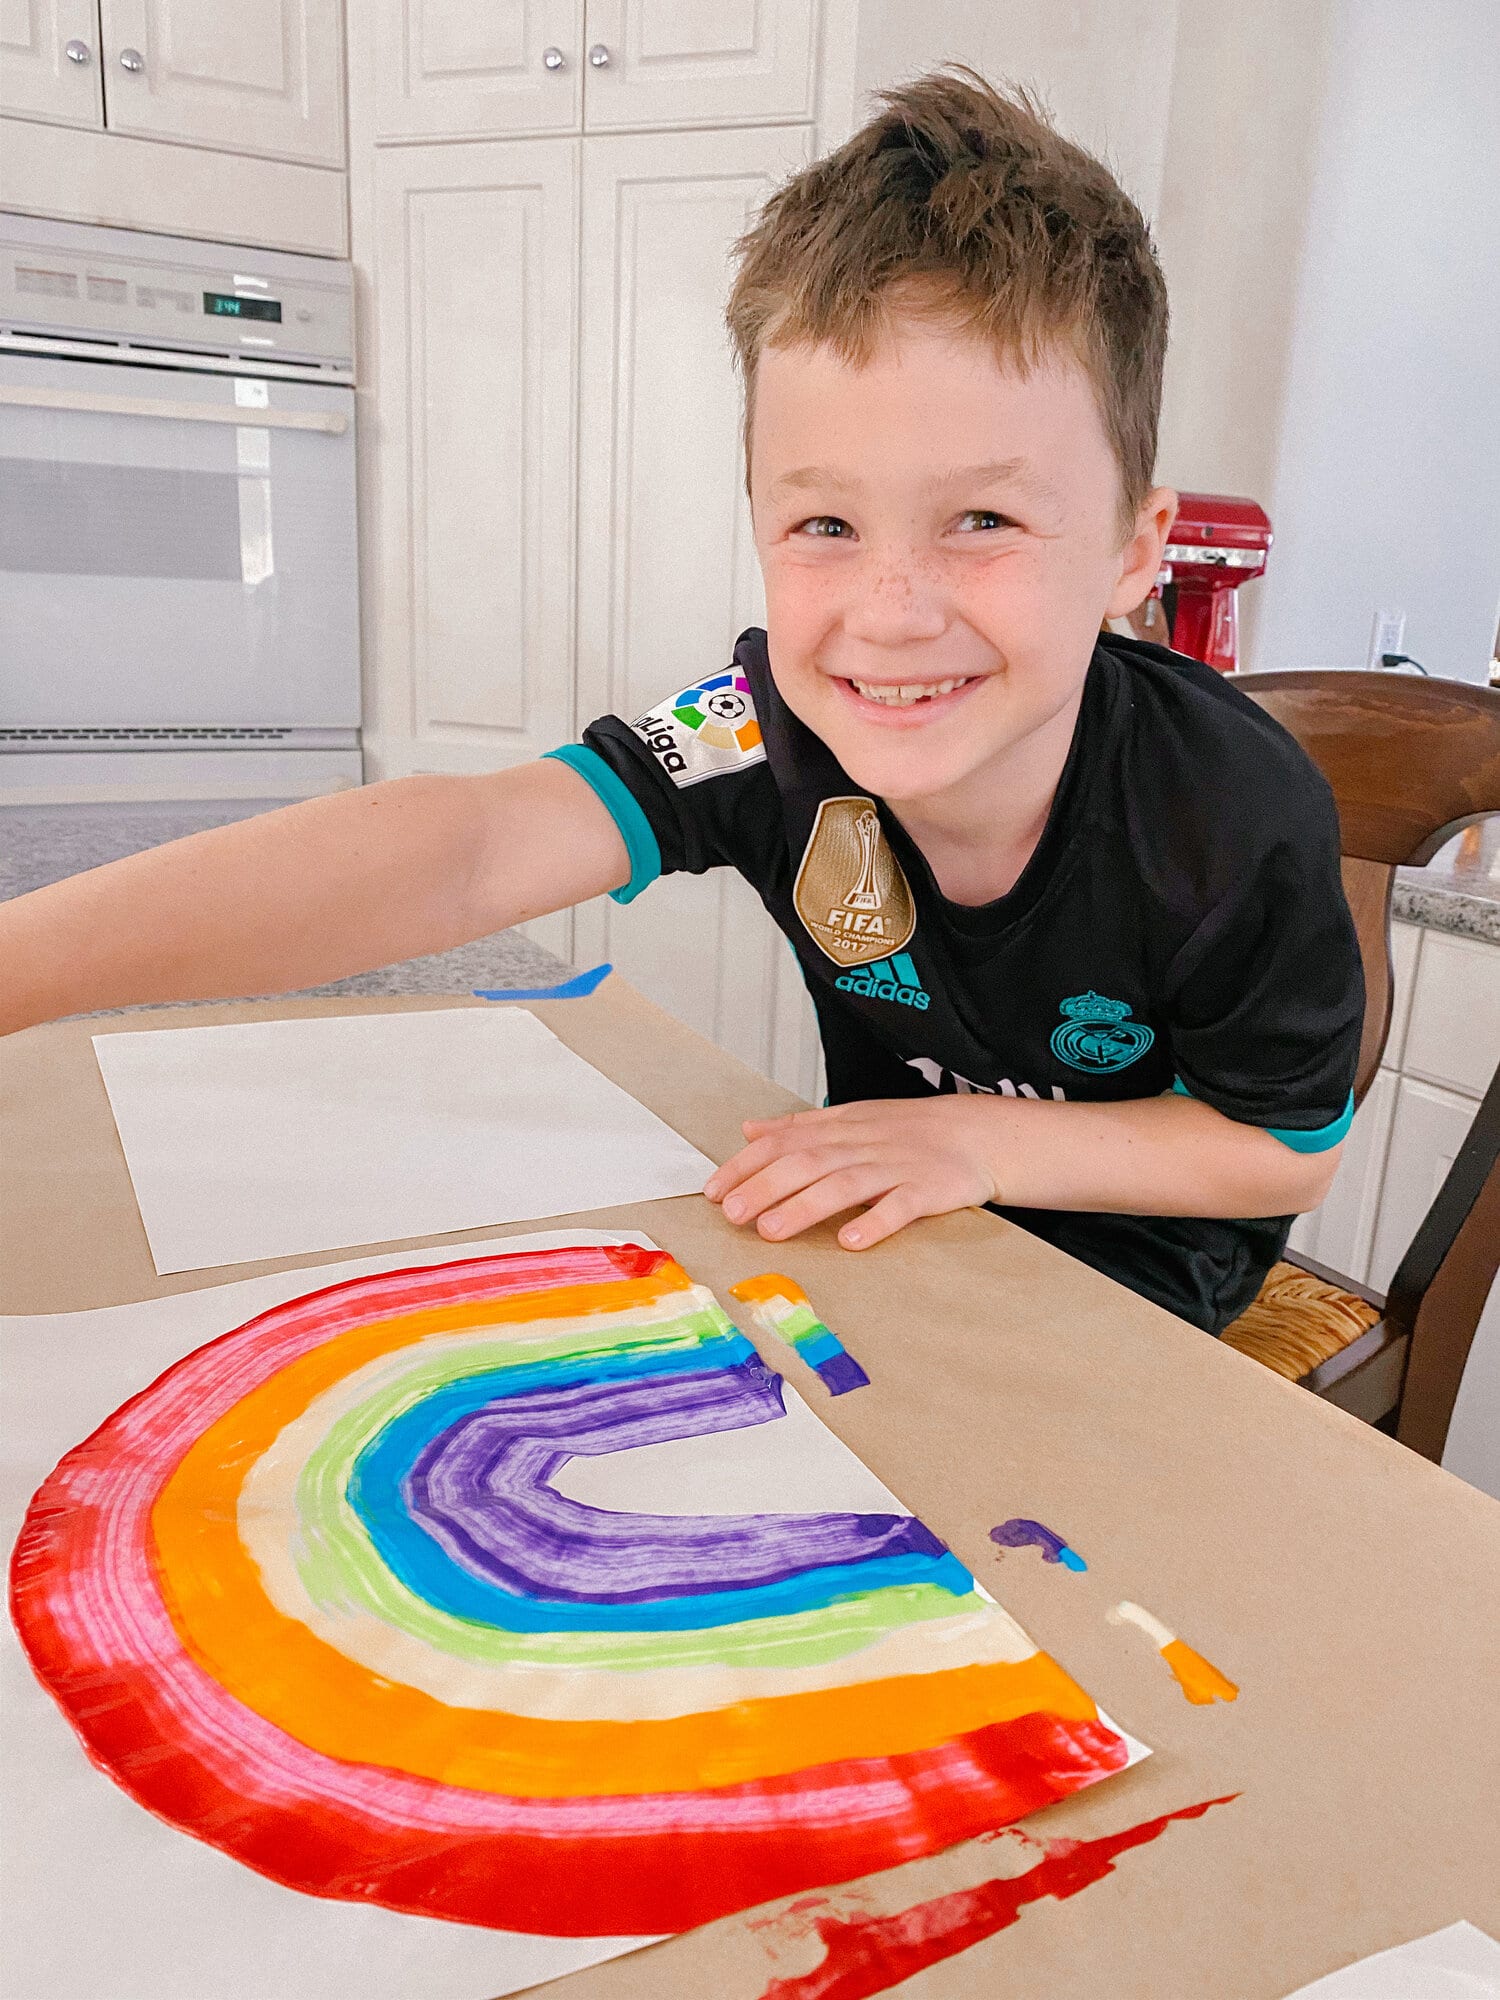
DIY RAINBOW ART
Materials:
White paper, preferably card stock but any white paper will work.
Paint, preferably in the colors of the rainbow
Small piece of cardboard or an additional piece of paper that is folded in half twice to create a thick edge
Directions
Lay a white piece of paper onto a covered surface horizontal.
Start on the bottom left side of the white piece of paper and apply dots of paint starting on the outside and moving your way in with the rainbow colors (red, orange, yellow, green, blue) The red dot should be the largest dot (about the size of a quarter) and slightly make the dots smaller as you get to the purple.
With the cardboard or folded piece of paper and start at the bottom of the page, below the paint, swipe the paint by pressing the edge of the cardboard or paper just under the paint and around so that it will carry the paint to the other side of the paper. Swipe the paint up and then back down in a large upside down “u” shape to create a rainbow shape.
For more from Maria, check these DIY ideas out:

Meet a Mom: Good Housekeeping’s Executive Editor, Meaghan Murphy!
This week’s Meet a Mom, Meaghan Murphy, has three kids, lives in Westfield, NJ, and loves her town so much she calls it Bestfield and was named Chief Spirit Officer by the former mayor! She’s also a successful magazine editor, with a more than 20-year...

Rosh Hashanah: An Easy Kugel Recipe
Leah Koenig is a food writer for magazines (The New York Times, The Wall Street Journal,Food52, Epicurious,Departures) and the author of 6 cookbooks, including The Jewish Cookbook - a collection of more than 400 Jewish recipes from around the globe, published by...

9 Books for Mompreneurs: Must-Reads from The Local Moms Network
The over one hundred women that make up The Local Moms Network are a diverse group. The mothers that run our hyperlocal sites across the country have experience in marketing, teaching, law, and more. Now, of course, they are all female...