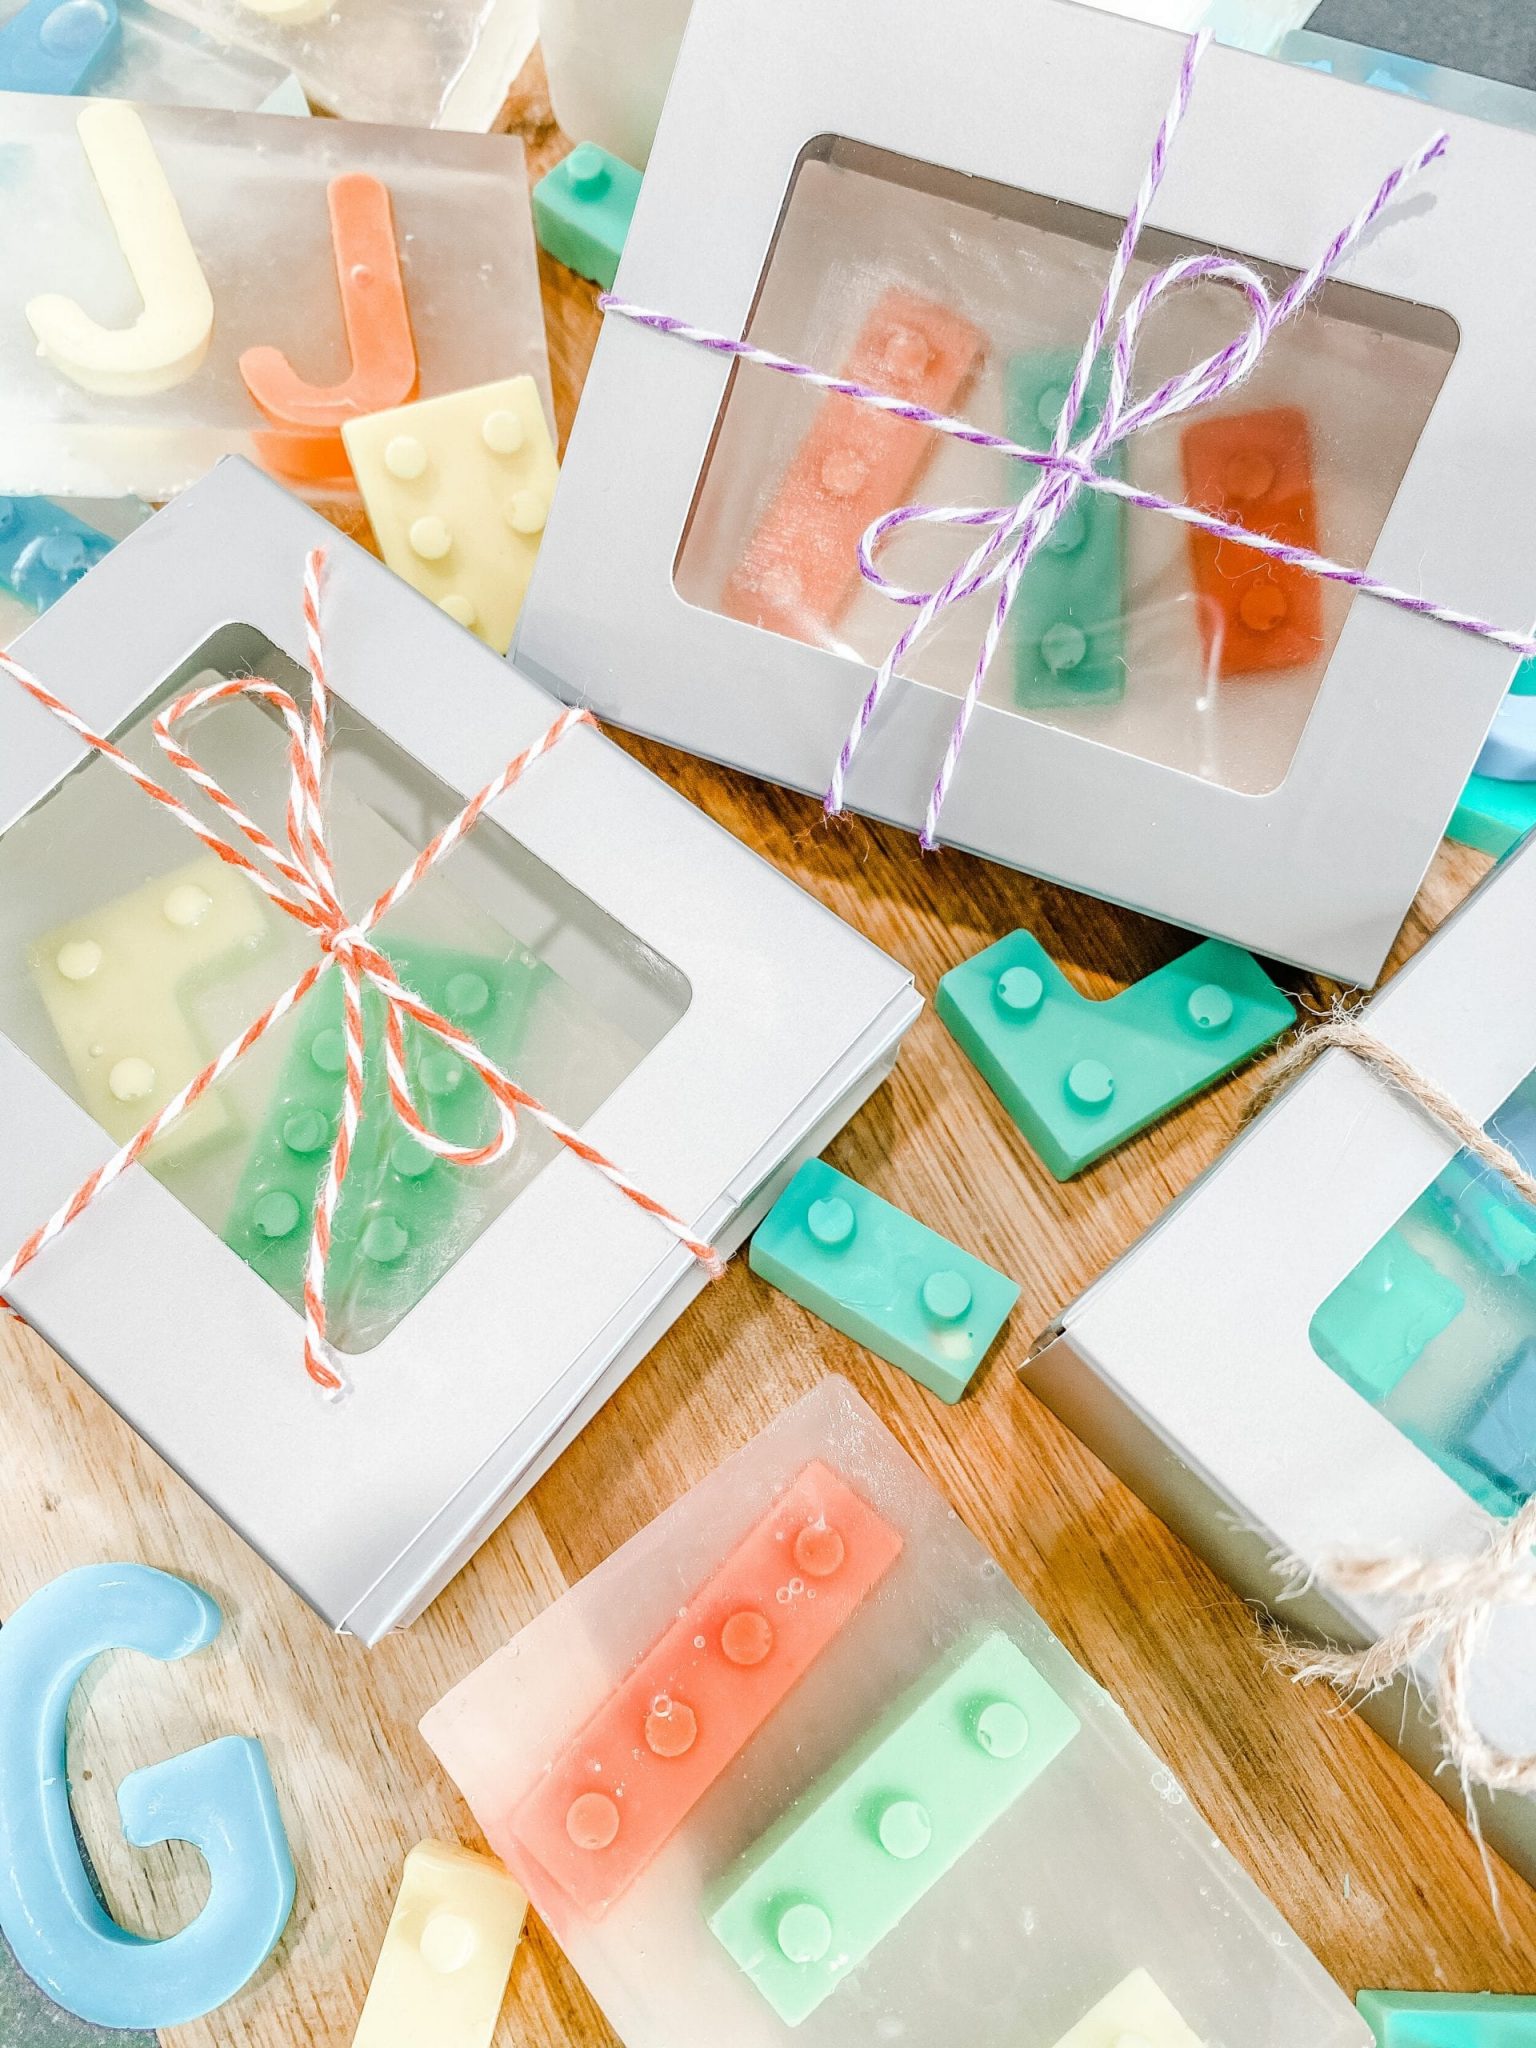
This rainy day activity from our contributor Maria Provenzano is our favorite type of DIY—it’s easy enough to do with kids, but the result is cute enough to give as a gift. You can customize the shapes for any holiday or interest by simply using different silicone molds. Pandemic-related bonus? You’ll be encouraging more frequent hand-washing!
DIY Soap Molds
Supplies
- Goats milk soap or any other type of white-based soap
- Glycerin soap
- Soap colorant
- Microwave safe bowl
- Spatula or popsicle sticks for stirring
- Silicone molds (lego molds, rectangle molds, letter molds)
- Cutting board
- Knife
- Paper Mart Soap Boxes With Window
Directions
Note: Keep the temperature of the soap below 160 degrees for the best results.
- Cut the white soap with a knife into small cubes and place in a microwave-safe bowl.
- Melt in a microwave-safe bowl according to directions; I recommend about 15 seconds then mix and repeat. *You can add essential oils to this as well. We decided against it since my son has eczema and we try not to used anything with scents on his skin.*
- Add the soap colorant to the melted soap and pour it into silicone molds as desired.
- Allow the soap to completely harden up and remove it from the molds. If you want to create a bar of soap with the designs in the inside then place the soap shapes into the rectangle molds while you melt the clear soap.
- Cut the glycerin soap into small cubes and repeat the same melting process.
- Once it’s melted, allow it to cool to almost room temperature (be sure to stir it so the top doesn’t create a film).
You can do this two ways:
One way you can do this is to let the glycerin soap cool enough so that it won’t melt the other soap when you pour it and then simply pour it over the lego soap. When doing this, you only want to pour enough so that it’s JUST above the lego shape. If you pour too much then you won’t see the shapes. (refer to the video for this)
Another way is to pour the glycerin soap into the rectangle molds first, let it cool, and then place the lego soap shaped (or whatever shape you are using) into the already poured, melted, and cooled glycerin soap. Just be sure to watch out for the top of the soap because it can harden as you wait. Either way works as long as your timing is on point.
Note: Once everything is set up you can package them in a really pretty way. I’m obsessed with these boxes from Paper Mart because they are specific for soap!! They have a little window on the top so you can see what’s inside! I just tied it with a cute piece of twine and they were ready to go.
More DIY from Maria:

Greek Salad Hummus from Beach Cities Moms
We're about to head into the holiday season, and if you're like us, that usually means diving into some delicious and decadent food, from frosted cookies to festive cocktails. Now, 2020 can use all the help it can get, so we're not suggesting you skip any of...
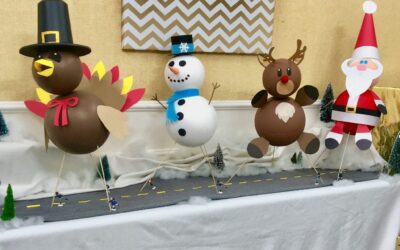
DIY Holiday Balloon Parade
This DIY Holiday Balloon Parade from The Local Moms Network contributor Maria Provenzano is perfect for anyone swapping their traditional parade tradition for more social distance-friendly activities this year! DIY Holiday Balloon Parade ...

The Local Moms Network Book Club: Mothers Before
The next book in our book club series is Mothers Before: Stories and Portraits of Our Mothers as We Never Saw Them. This fascinating collection of essays and portraits of women—writers, poets, teacher and more—was edited by New York Times bestselling novelist...